How to Add Intelligent Links to Emails
Why This Matters
Intelligent Links transform ordinary email links into automation triggers that respond to your contacts' interests. When someone clicks an Intelligent Link, the system automatically runs a workflow that can add tags, create notes, start email sequences, send notifications, and update contact information—all without manual work.
This feature helps you understand what interests your contacts most while delivering personalized follow-up automatically. For example, a bakery owner could send one email with three different links about event timing. Clicking "Event in 30 Days" adds a "Hot Prospect" tag, starts an urgent follow-up sequence, and notifies the sales team. Clicking "Event in 6 Months" adds a different tag and starts a long-term nurture sequence instead. Every link in your email can trigger a different workflow, giving you powerful insight into what drives your audience.
Before You Begin
Create the workflows you want to trigger before setting up Intelligent Links. Navigate to Automation > Workflows to build the actions that should happen when each link is clicked—such as adding tags, creating notes, starting email sequences, or sending notifications.
You must create regular hyperlinks in your email before they can become Intelligent Links. The system only recognizes text that has already been formatted as a hyperlink. Regular text cannot be converted directly into an Intelligent Link.
Watch & Learn
🎥 Video: How to Add Intelligent Links to Email
Step-by-Step Instructions
1. Create Your Email Template
Navigate to Email > Email Settings and create or open the email template where you want to add Intelligent Links.
Write your email content and include the text you want to turn into clickable links. Your copy should naturally incorporate multiple links that serve specific purposes, with clear text that indicates what contacts can expect when they click.
2. Add Hyperlinks to Your Text
Highlight the text you want to make clickable, then click the hyperlink icon (chain link) in your email editor.
This step is crucial—you cannot skip it. Only text that has been set up as a hyperlink will be available for Intelligent Link configuration.
3. Set the Link Destination
Enter the destination URL where you want people to go when they click the link. This could be your website, a landing page, a product page, or any relevant URL.
Click Apply to save your hyperlink settings. Repeat this process for each link in your email.
4. Open the Intelligent Links Panel
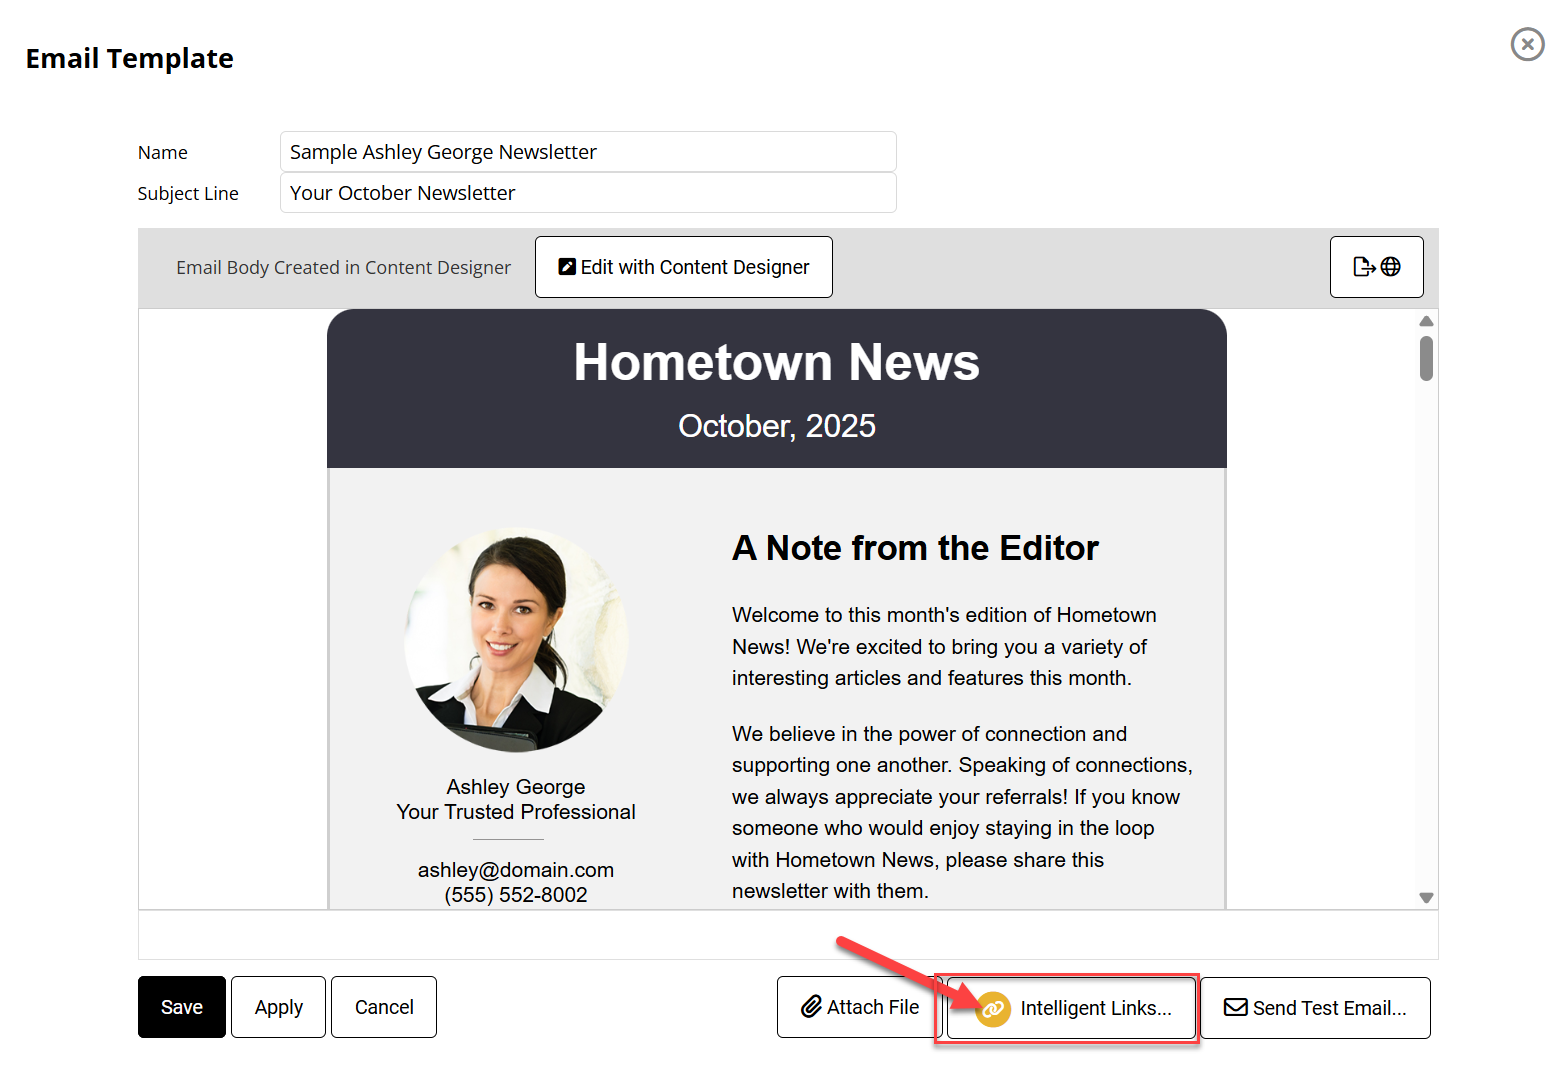
Click the Intelligent Links button in your email template editor.
This opens the configuration panel where you can connect your hyperlinks to workflows. The panel displays all available hyperlinks in your template.
5. Add Your First Intelligent Link
Click Add Intelligent Link to begin connecting hyperlinks to workflows.
This opens the configuration screen where you'll assign automation actions to specific links.
6. Connect Link to Workflow
Select the specific link you want to make intelligent from the dropdown menu, then choose the workflow you want to trigger when that link is clicked.
Click Save to confirm the connection. The workflow will execute automatically whenever a contact clicks this link, running all the actions you've configured.
7. Configure Additional Links
If your email has multiple links, repeat the process to add Intelligent Link functionality to each one.
Each link can trigger completely different actions, allowing you to gather diverse insights from a single email message. You can assign different workflows to different links based on what action you want each click to trigger.
8. Review Your Configuration
Review all Intelligent Links configured for this email template. Add any additional links you want to make intelligent, or remove connections you don't need.
Close the panel when finished. Email templates containing Intelligent Links display a special indicator in your template list for easy identification.
9. Test Your Intelligent Links
Send a test email to yourself using a real contact record, then click each link to verify the workflows trigger correctly.
Testing ensures everything works as expected before sending to your full contact list. Never skip this step—it prevents workflow errors from affecting your actual contacts.
10. Verify the Results
After clicking your test links, return to the contact record to verify all workflow actions completed successfully.
Look for new tags, notes, and any autoresponder sequences that should have started. Most actions complete within a few minutes of the link being clicked. If actions don't appear, review your workflow configuration and test again.
Questions and Answers
Q: What types of actions can Intelligent Links trigger?
A: Intelligent Links can trigger any action available in your workflow system, including adding tags and notes, starting autoresponder sequences, updating contact information, sending notifications to team members, and moving contacts to different categories.
Q: Can I use multiple Intelligent Links in the same email?
A: Yes, you can add as many Intelligent Links as needed in a single email. Each link can trigger a completely different workflow, allowing you to track various interests and respond accordingly.
Q: What happens if someone clicks the same link multiple times?
A: The workflow will only trigger once per contact, regardless of how many times they click the same link. This prevents duplicate actions and maintains clean contact records.
Q: What happens if someone clicks multiple different links in the same email?
A: Each Intelligent Link triggers its own workflow independently. If someone clicks three different links, all three workflows will run, giving you comprehensive data about their interests.
Q: How long does it take for Intelligent Link actions to process?
A: Most actions happen within a few minutes of the link being clicked. The system processes the click notification and then executes each step of the assigned workflow in sequence.
Q: Can I see which links my contacts have clicked?
A: Yes, the actions from your workflows (such as tags and notes) appear on the contact's record, showing you which links they engaged with and when.
Q: Do I need to create the hyperlink before making it intelligent?
A: Yes, you must first create a regular hyperlink using the email editor's hyperlink tool. Only existing hyperlinks can be converted to Intelligent Links—you cannot skip the hyperlink creation step.
Q: What if I want to change the workflow after setting up an Intelligent Link?
A: You can modify the workflow in your automation settings, and the changes will apply to future clicks. You can also edit the Intelligent Link configuration to assign a different workflow to any link.
Q: Can I use Intelligent Links for lead scoring?
A: Absolutely. You can assign different workflows to different types of engagement and use the data from Intelligent Links to build sophisticated lead scoring systems based on actual behavior.
Guide Type: How-To Guide
Estimated Time: 10 minutes
Video Transcript
You are sending out emails to your Prospects and Customers with links in them.
Wouldn’t it be great to know which link was clicked and when it was clicked?
Wouldn’t it even be better, if someone clicking a link, would automatically update their information in the database, start a Workflow or Autoresponder, and send you an instant notification?
Intelligent Link Tracking will do all of this and much more.
Pam has a Bakery and Catering business. She has a list of companies who will be putting on an event sometime in the near future.
She wants to prioritize her list, and really focus on her hottest prospects.
Here’s her email with three different links. Depending on which link is clicked, a different Workflow will be triggered.
If they click the first link, indicating they are going to have an event in the next 60 days, these are Hot Prospects, and Pam wants to treat them as such.
A special Hot Prospect Tag will be added to their account.
Any active Autoresponders will be replaced by a new autoresponder sequence for Hot Prospects.
A Note will be added to the Contact Record, and Pam will receive an email notification, notifying her that she has a new hot prospect.
If they clicked on the second or third link, a completely different workflow would be triggered: a different tag, a different autoresponder, and Pam would not receive an email notification.
Let's build some intelligent links.
First, write your email here in the email template section.
Create your links as you normally would.
If you want to make this text a link, highlight it, click on the chain link icon, and put in your URL.
After you're done creating or editing your email, you can turn that link into an intelligent link.
Click here on ‘intelligent links’, select the link you want to make intelligent, then assign the workflow you want the system to run when someone clicks on that link.
And that's it!
Your intelligent links are set up and ready to go.
As a reminder, you build your workflows here, under Automation.